Ironmark strives to make our customer experience a pleasant one from the moment you start working with us to the time you receive your finished products. In an effort to ensure you have a smooth experience from start to finish of getting your print products, we have created a list of 3 ways to get your files to the printer.
Related: What is a Native File?
3 Ways to Send Files for Print
To ensure Ironmark receives customer files for print jobs, we ask that all customers send their print files one of three ways:
1.Email PDFs
For most customers who are in communication with a Customer Service Representative (CSR), the easiest way to send your files is by emailing a print ready PDF. Using Adobe InDesign, import the Ironmark.joboption file to create print-ready PDFs. To load the plug-in:

- Download the plug-in
- Open the Adobe InDesign application
- Navigate to the “File" menu and select "Adobe PDF Presets"
- In the resulting window click "Load..."
- Navigate to and select the “IronMark.joboptions" file that you downloaded and click "Load"
- Click "Done"
The new settings should now be available in your Adobe applications.
This PDF can be attached to an email and sent to your CSR. It’s important to note that the file size must be less than 15 MB and .ZIP files cannot be sent. If your file size is larger than 15 MB, your CSR will direct you to use the FTP file upload.
2. FTP Folder
FTP, or File Transfer Protocol, is an easy way to upload any files over 15 MB to Ironmark. To do this, contact your CSR to obtain a link to the FTP folder for your files. Your CSR will create a folder specifically for this print job and send you a secure link to upload the files. Select files from the pop-up menu, or drag files from your computer into the box. To upload multiple files at once, hold down the Shift or Control key as you select files.
3. Upload on the Ironmark website
Visit ironmarkusa.com and navigate to the top right hand corner and click “Upload”.
This will take you to a page to provide your contact information so we know who the files are from. Your information will not be shared with third parties and used strictly for internal tracking purposes.
You will then have the choice to either store your information for a speedier upload next time or skip that step and be directed to the upload page. Select your Customer Service Representative from the drop-down menu and then select “choose files” to select your print files for upload.
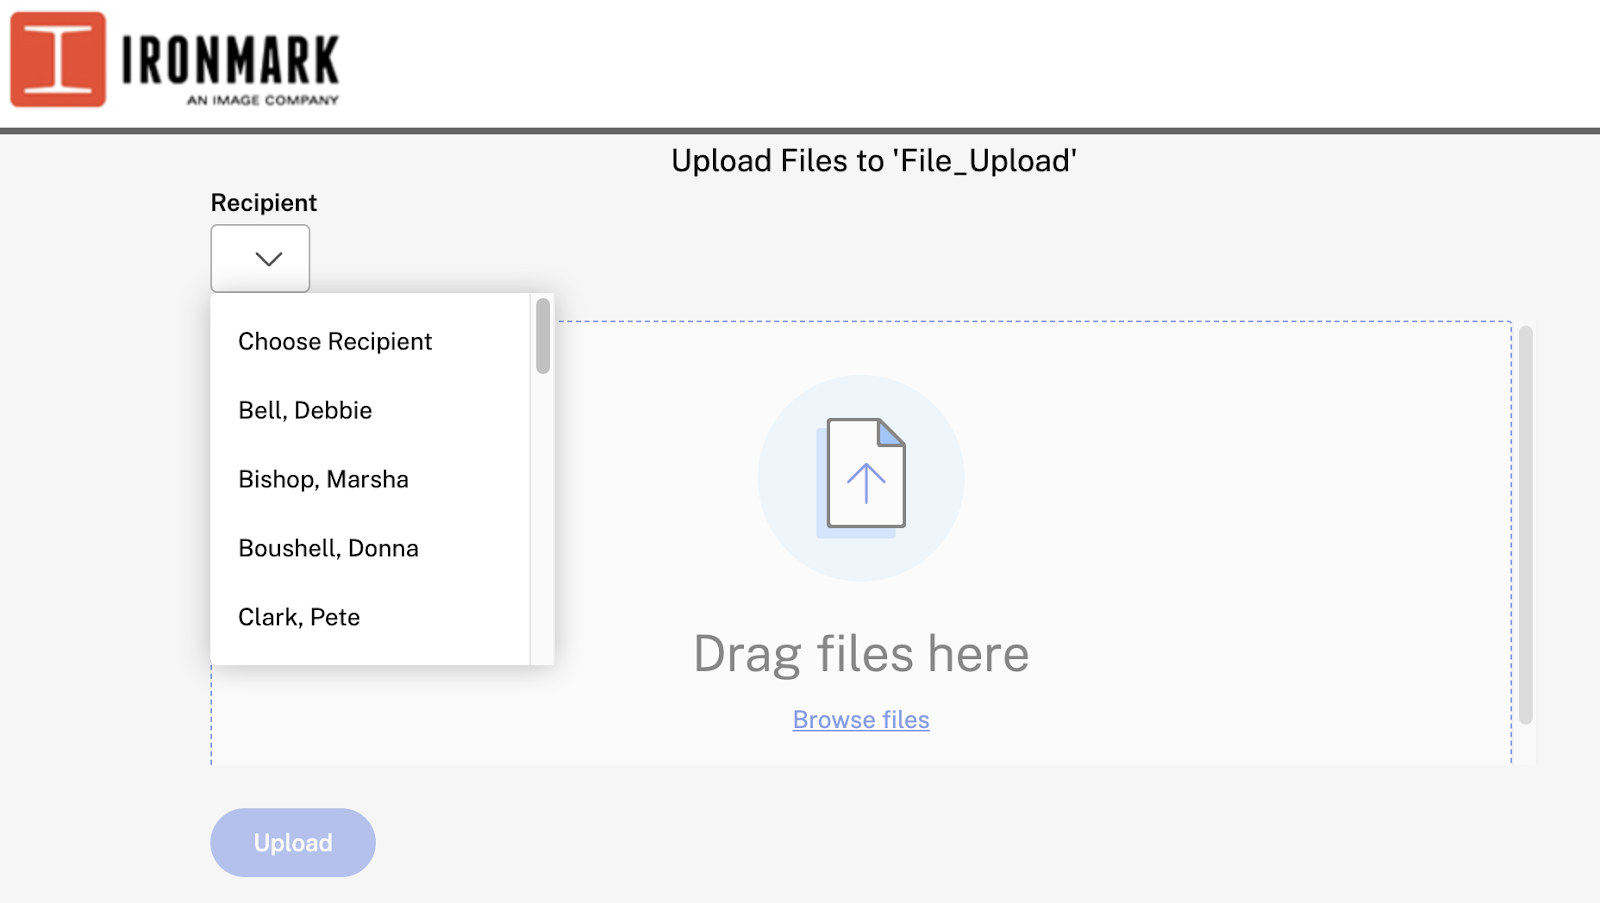
Once all your files have been chosen, select “Upload”. You should then be shown a confirmation message that all of your files have been uploaded successfully.
You will receive a confirmation email from your CSR that your files have been received and your print job will be moved forward in our process.
Download a PDF version of these instructions to keep handy on your computer.

Should you have any questions regarding print file uploads or how to send them to Ironmark, please reach out so we can help.

If you’re in need of print materials but do not have a file or design for it, Ironmark has a full service in-house creative department that can help bring your print material dreams to reality. Whether it’s a small postcard or a giant banner, or anything in between, our talented creative team can design it for you.
