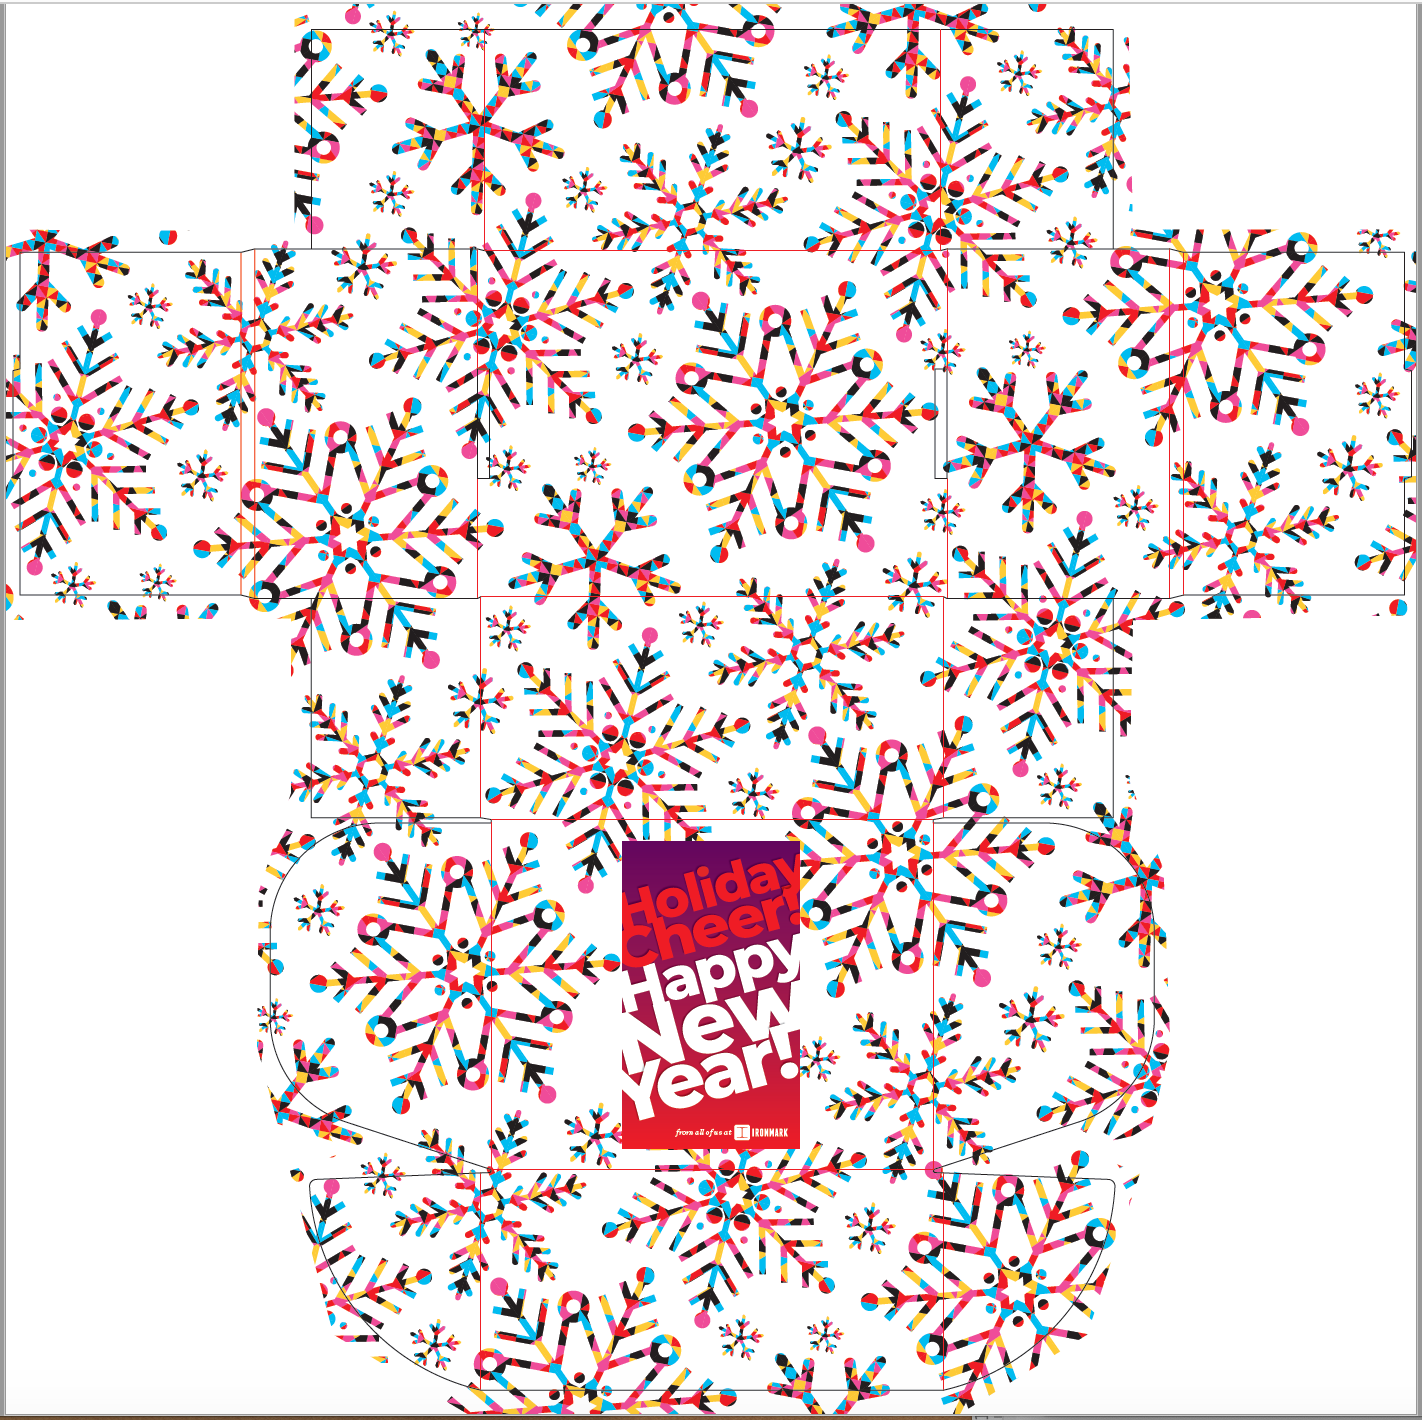
If you’ve ever tried constructing a 3D object using a 2D drawing, you recognize that there is some skill involved. It can be difficult to fully visualize the finished product when you see it laid out on a flat surface. These are templates with dielines created in a two-dimensional format for a three-dimensional package or print product. They instruct a printer how to perforate, fold, and cut along the packaging materials to create the finished product.
If you haven’t created a dieline before, not to worry. Graphic designers and printers are exceedingly familiar with the nuances and challenges of performing this transformation. What we’ll cover here are the basics of a good dieline, why you would use one, and how graphic designers create them—so the next time you need to construct product packaging, you’ll be ready to roll, perforate, cut—and fold.
- What is a Dieline in Printing?
- Why Use a Dieline?
- How are Dielines Created?
- Out-of-the-Box Tips for Pro Results
- Preparing to Package?
What is a Dieline in Printing?
Graphic designers, die cutters, and printers typically make dielines to create a variety of different packaging materials, ranging from simple to detailed boxes, pocket folders, envelopes, food and beverage packaging, brochures, POS displays, and whatever you can dream up in 3D. These dielines are essentially drawings of the packaging that feature three types of lines:
- Perforation Line: Instructs the machine where to make any perforations. These lines live on a layer in the software that is different from the other lines, and they are shown as colored dots. Perforation is performed separately from cutting.
- Cut Line: Instructs the machine where to make cuts.
- Fold Line: Instructs the machine where to fold the paper. This is done last.
Related: “11 Graphic Design Terms You Need to Know.”
Why Use a Dieline?
When building any three-dimensional product, it’s vital to have a drawing. Dielines are important because they:
- Determine Packaging Size, Dimensions, and Scale: These measurements must be communicated for correct sizing.
- Show Line Placement: In order to ensure the package comes together correctly, the dieline will feature all cutlines, perforations, creases, blue tabs, folds, eye marks, and any other important instructions and points of connection.
- Map All Graphics: Dielines show the layout of text, logos, and images; this helps designers see how the interplay of text and photography or illustrations are working or not working in context—and catch any packaging issues early before more costly remedies need to be implemented.
- Include Additional Notes: These templates also have special instructions like manufacturing notes and any bleed and trim requirements.

How are Dielines Created?
Dielines can be built in specific software programs like Adobe Illustrator, Adobe InDesign, or Artioscad. Since perforations and cutting are two separate actions, they are layered on two separate layers as two different colors and also dispensed to the printer this way so the printer understands what part needs to be perforated and what part needs to be cut. They are performed in two steps, and then folded in a third step.
Related: “You’ve Got a Print Ready File? Now What?”
Out-of-the-Box Tips for Pro Results
To create the best packaging, designers follow the following best practices:
- Increase Efficiency: Both for the sake of environmental friendliness as well as cost, designers like to create the smallest packaging to fit the product and messaging as safely as possible, since that alleviates paper costs, production costs, and shipping costs; provides more room on product shelves; and ultimately helps achieve the smallest carbon footprint.
- Use a One Sheeter: Designers challenge themselves to stick to one sheet of paper/packaging material in order to decrease material costs. Through the clever use of folds, die lines, and flaps, they can build a viable package and maximize just one sheet for optimal impact. Along these same lines, printing on one side also dramatically reduces ink and printer costs. Designing folding panels strategically can keep graphics printed on one side.
- Economize with Die Cutting and Gluing: Again, smaller is better here. Smaller dies are more cost-effective than larger ones, so designers like to go small where possible and eliminate as much gluing as possible too.
- Minimize Touches: The work done by hand, assembly, and gluing are time-intensive, cost-intensive processes that can be eliminated by a smart design.
- Consider Shipping: Packaging that ships flat is more economical than packaging that takes up a larger volume.
Preparing to Package?
We can help. At Ironmark, we’re experts in the art of the package, and can create any two-dimensional drawing in larger-than-life 3D. Whether you’re creating a comåplicated package or a simple one, we can help from concept to completion. It’s exciting to see a visualized form take physical shape and then make it onto the shelves, through the mail, or to an event and into the hands of your customers. With a carefully thought-through dieline, you’ll minimize costly mistakes, leverage savings for yourself and the environment, and create a package that makes you and your customers happy. Let's get you started!